Once you have purchased a Business Email Hosting package from Demo Registrar, you need to take the following steps to start using it.
Step 1: Log in to your control panel. Learn how.
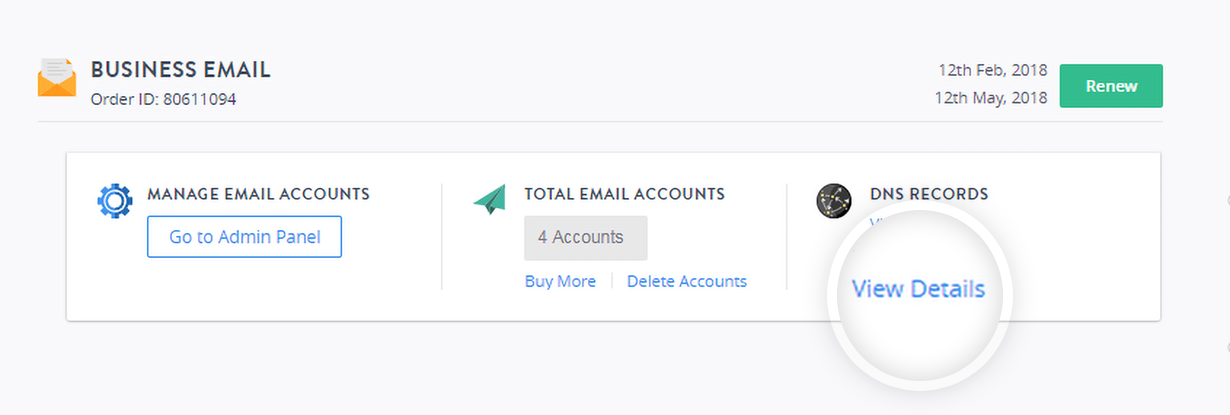
Step 2: Navigate to the Order View.
Search the domain name for which you have purchased the Business Email order and select the domain to view the order information.
Step 3:Associate your domain to the Business Email package.
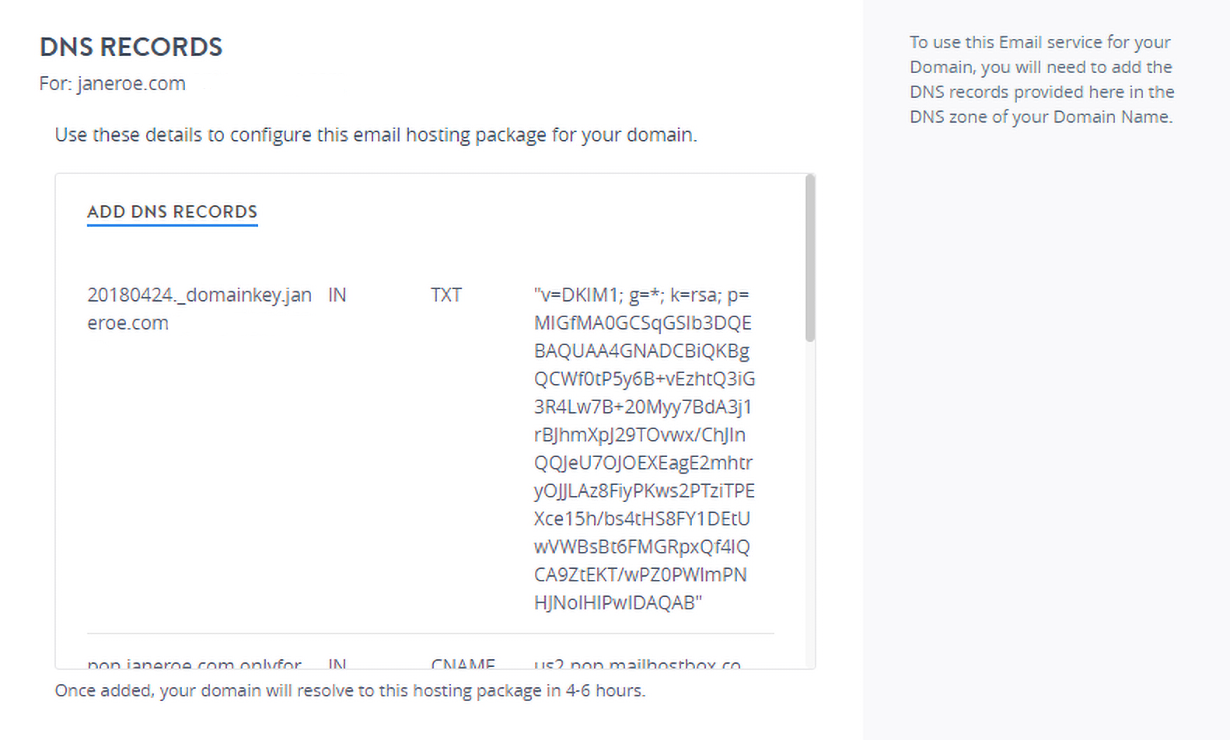
To start using your email services, you need to add the required DNS records in your DNS management console. To get the list of records :
-
Under the DNS RECORDS section, click View Details.
-
Here, you will find the list of DNS Records that you would need to add on your existing name servers.
Step 4: Create Email Accounts.
Once the service is activated, you have to create email accounts to be able to send and receive emails. Apart from creating email accounts, you can also setup email forwards, aliases, mailing lists etc. from your Email Administration Dashboard.
To access your Email Administration Dashboard under the MANAGE EMAIL ACCOUNTS section click Go To Admin Panel.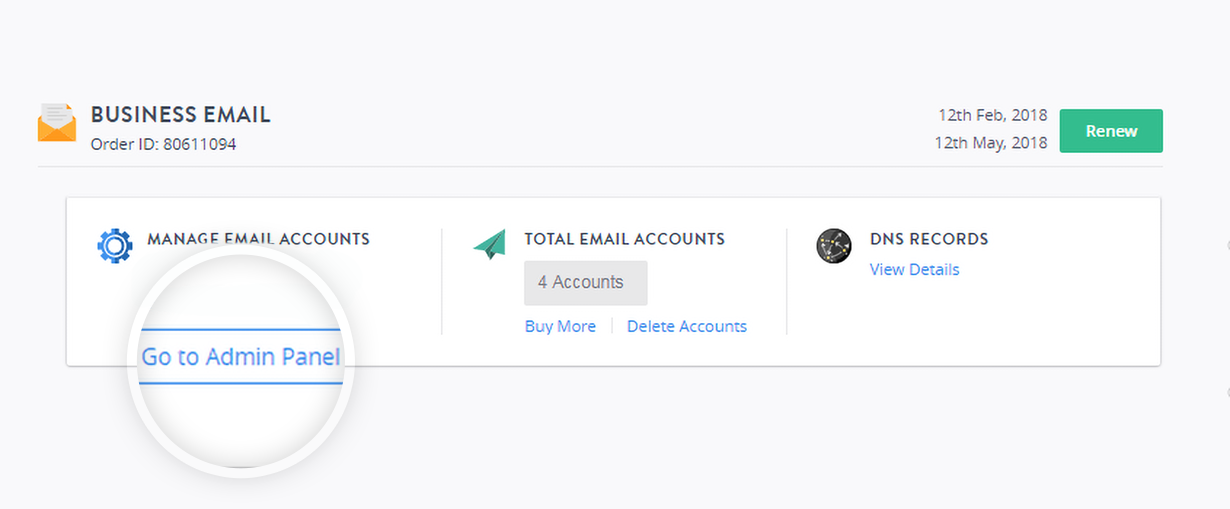
Step 5: Send and Receive Email using the accounts you created.
Demo Registrar offers you the following options to send and receive emails :