Add an NS Record.
-
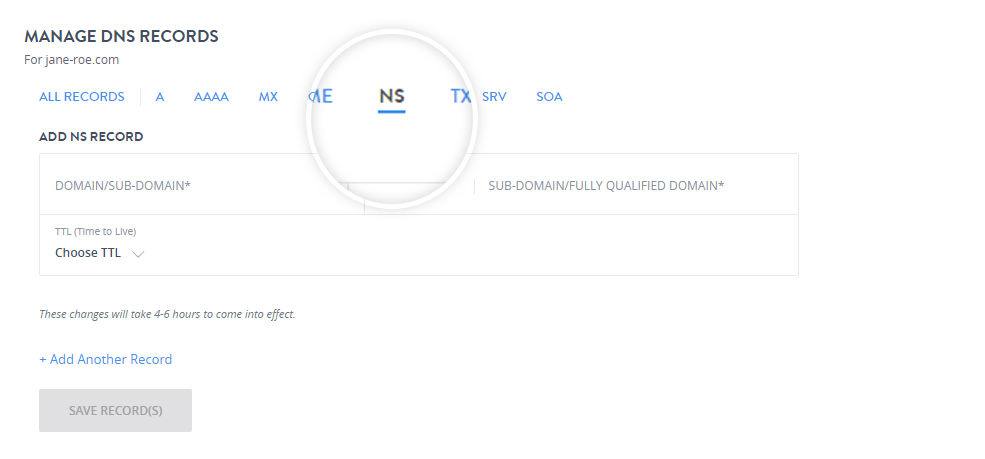
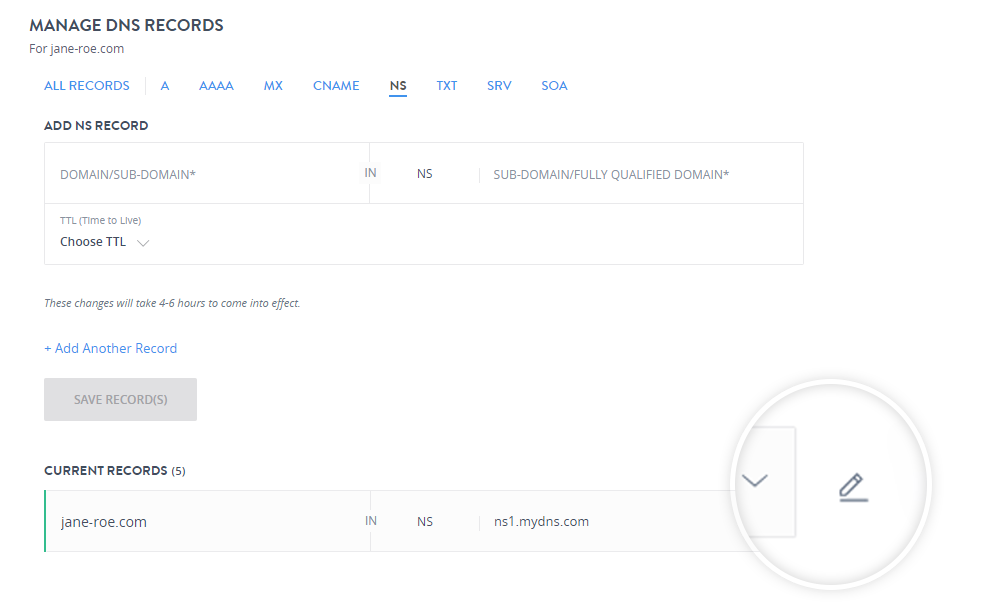
In the MANAGE DNS RECORDS window click NS.
-
In the Add NS Record section fill in the fields
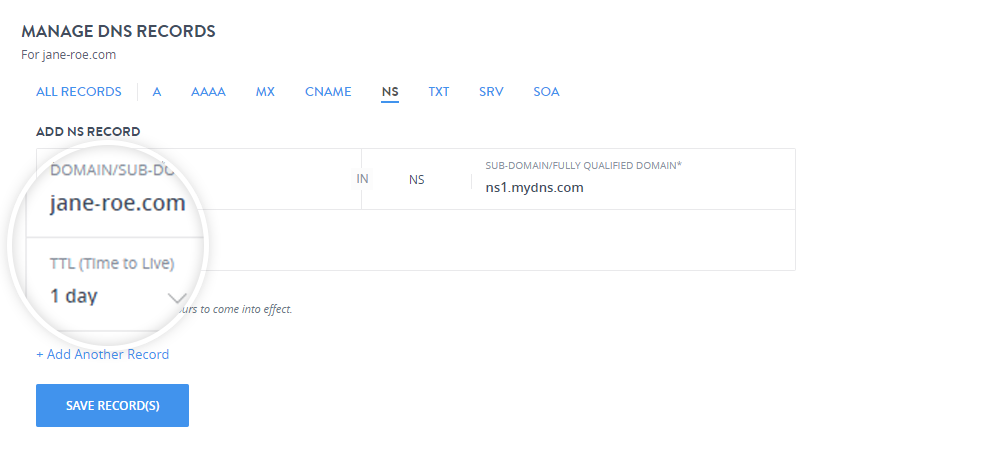
- Domain / Subdomain Name:
If you wish to create a Name Server for a sub-domain like ns1.subdomain.yourdomainname.com, then enter subdomain.yourdomainname.com in this text box.
- Subdomain/ Fully Qualified Domain:
This is the Name of the Name Server to be created or another Fully Qualified Domain Name that you want to make responsible for this Zone. Thus, if you wish to create an NS Record for subdomain.yourdomainname.com, you may enter the value as ns1.subdomain.yourdomainname.com. Or, you may want a Name Server like ns1.subdomain.yourdomainname.com to be delegated to another Fully Qualified Domain Name like dns1.anyotherns.com.
- TTL:
This is the Time To Live for this Record. Any Server which once queries this Record will query it again after this time interval. You can select the time interval from the drop-down as shown. The ideal TTL is 1 day.
- Domain / Subdomain Name:
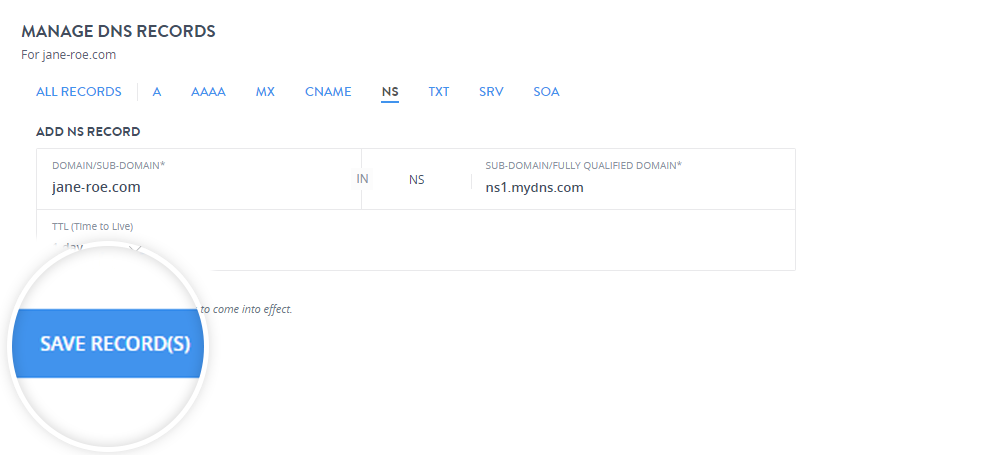
- You can add multiple NS Records at a single time by clicking + Add Another Record.

- Click Save Record(s).
It will take 4 to 6 hours for the changes to come into effect after adding an NS Record.
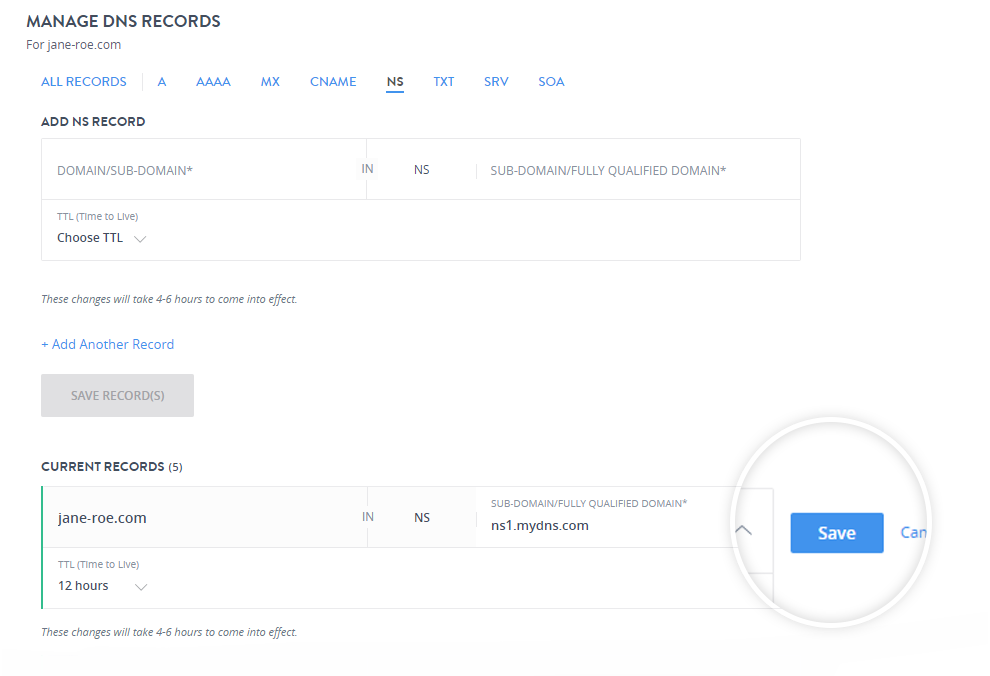
Edit an NS Record.
-
To modify a particular record click edit icon.
-
You can edit the Sub Domain/Fully Qualified Domain, and the TTL value and click Save to update the record.
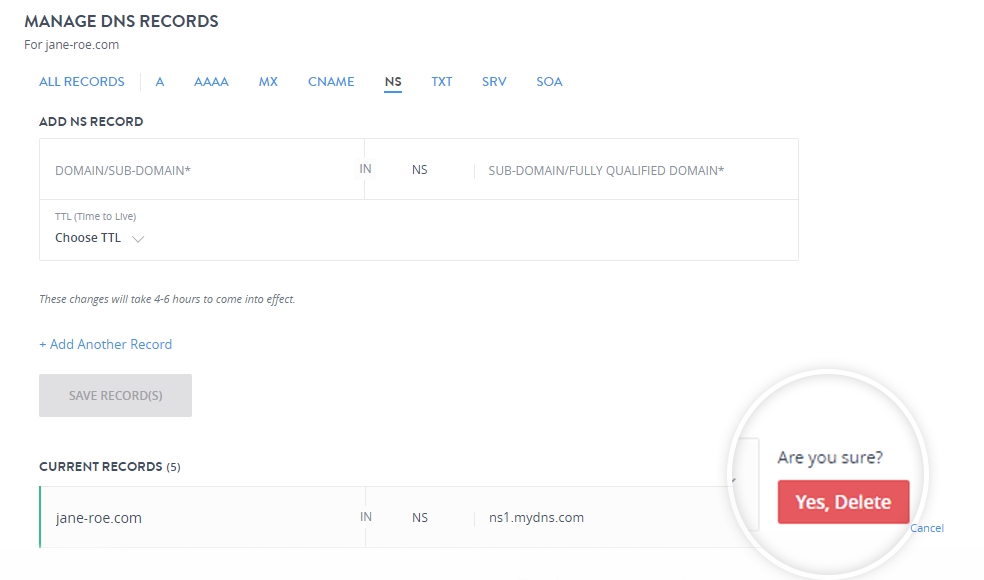
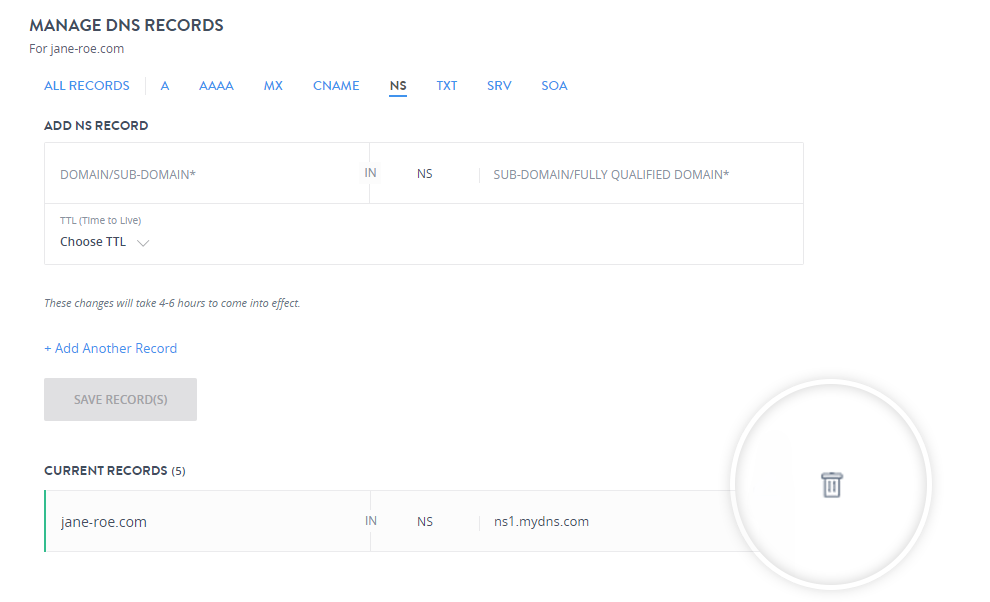
Delete an NS record.
-
To delete a particular record, click the delete icon.
-
Confirm the deletion by clicking Yes, Delete to delete the record.