This article explains the following topics, helpful in stopping spamming from a server (cPanel & Exim mail server):
-
To configure Exim mail server in WebHost Manager
-
To control outgoing mail from your server
To configure Exim mail server in WebHost Manager
The configuration page for Exim mail server can be found under Service Configuration in WHM. You can also search for Exim in the search bar.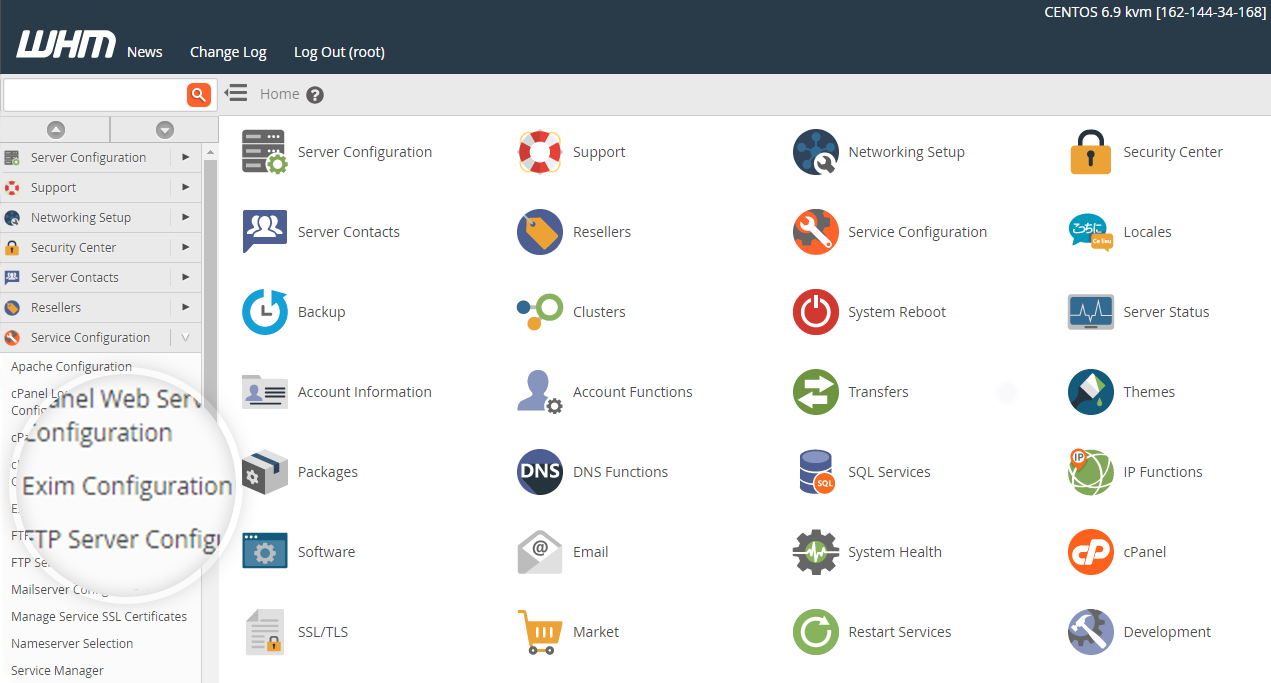 There are many sections under Exim configuration as listed below:
Before editing the settings in Exim mail server, we recommend taking a backup of existing settings using the Backup option provided in Exim Configuration Manager.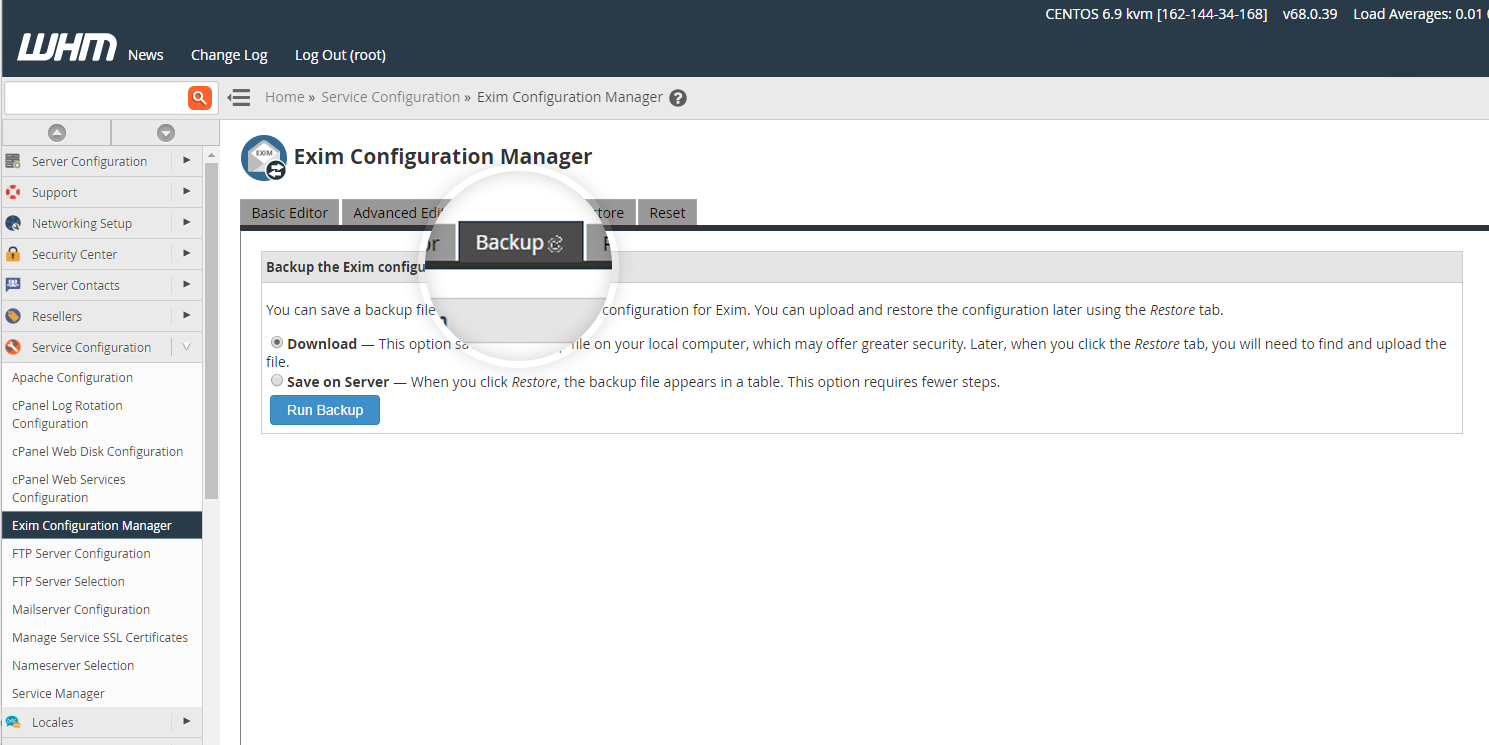 You can easily restore the configuration settings through the backup.
-
ACL options: ACL stands for Access Control Options. These settings affect blacklisting, spam control, and other security-related issues.
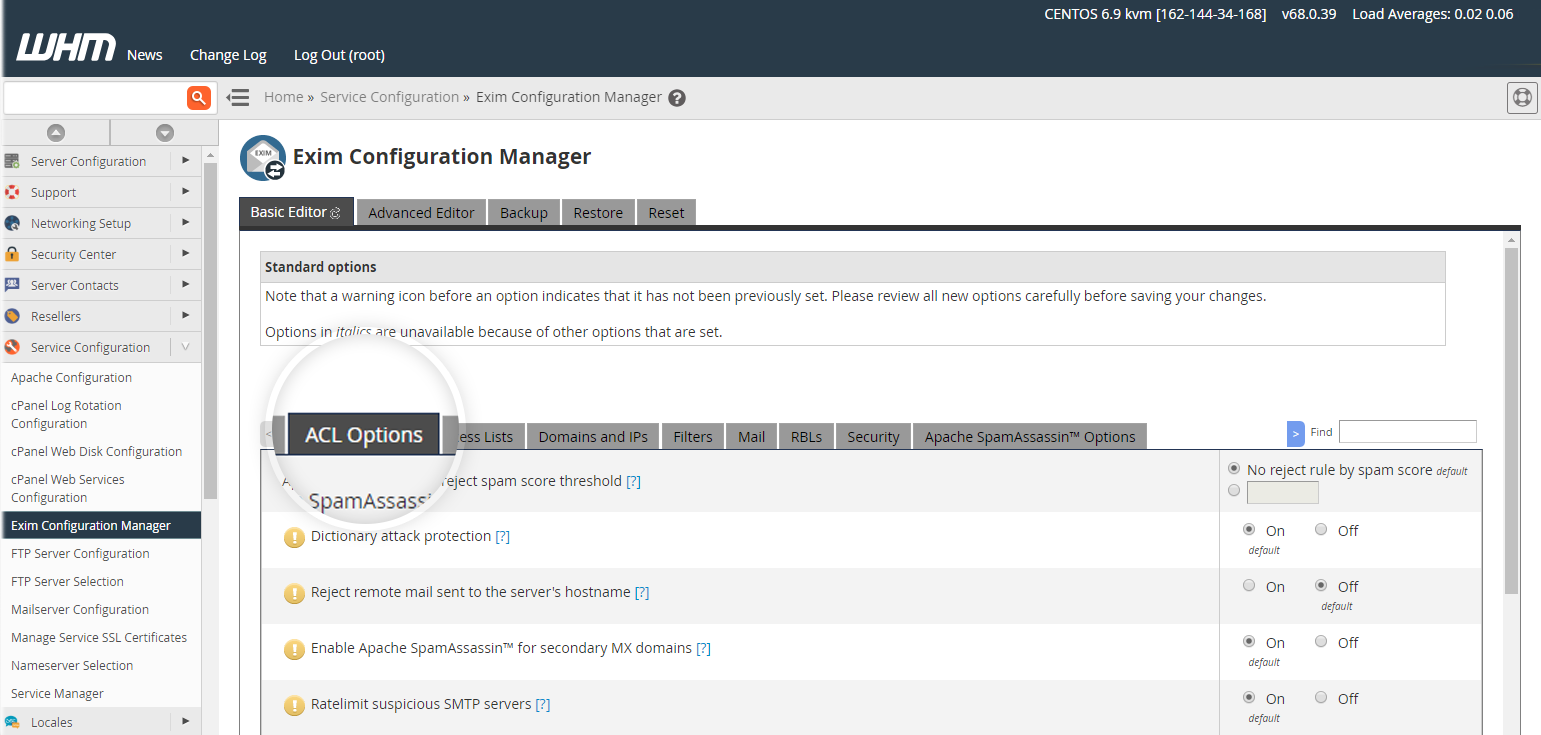 Enable the following options :
-
Dictionary attack protection
-
Ratelimit incoming connections with only failed recipients
-
Require HELO before MAIL
-
Require remote (hostname/IP address) HELO
If you want stricter rules to be followed for restricting outgoing spam emails, you can enable the Reject SPF failures option.
-
-
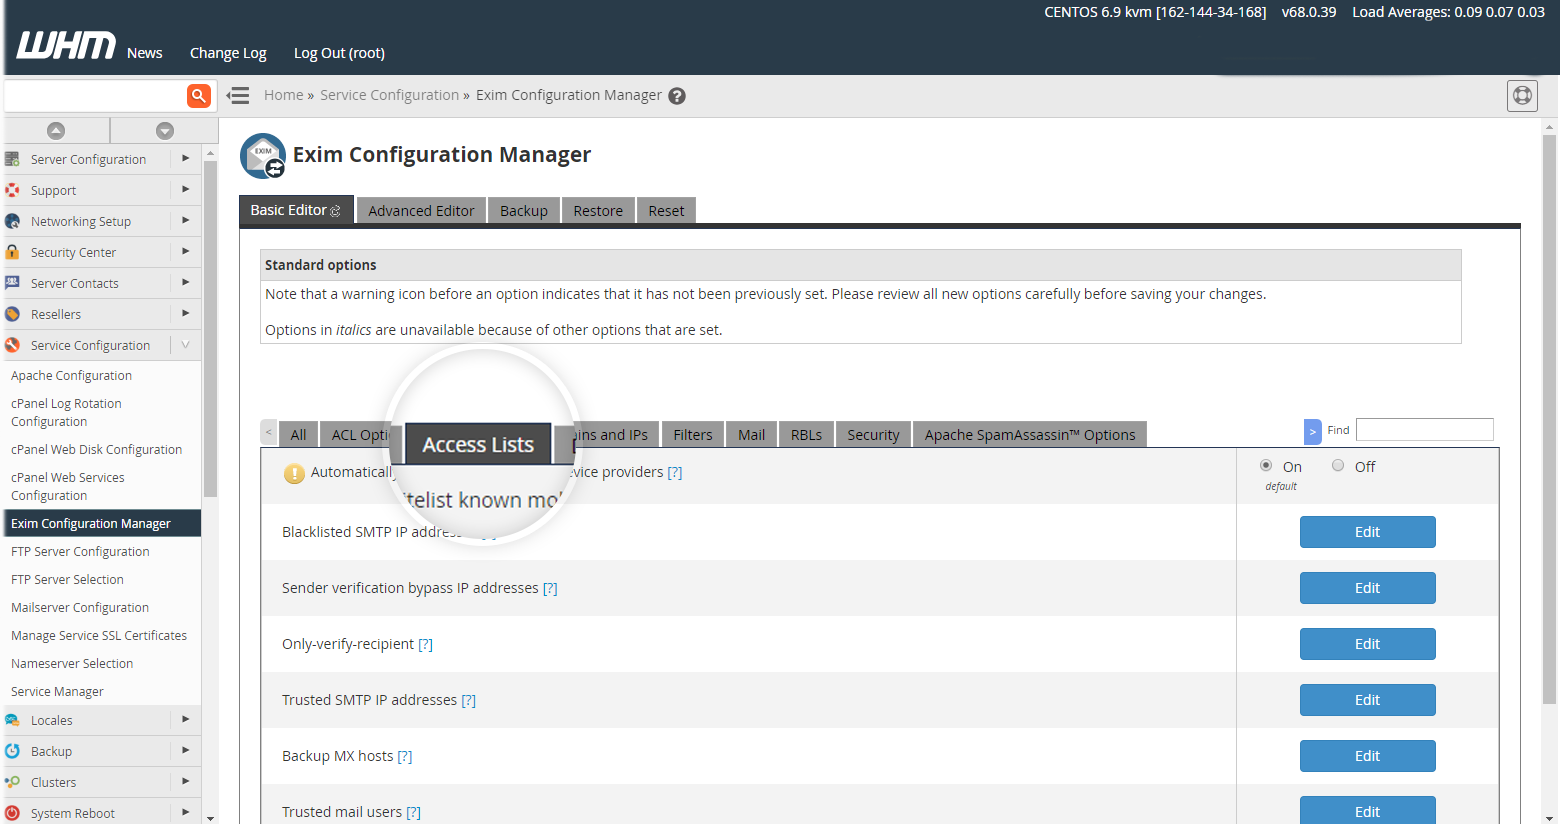
Access lists: Here, you can explicitly allow access to your SMTP server for certain hosts, even if they trigger your security measures. This is known as whitelisting. Explicitly denying access in a similar fashion is known as blacklisting. Each option in this section has an EDIT button which can optionally be used to whitelist or blacklist a host or IP address.
-
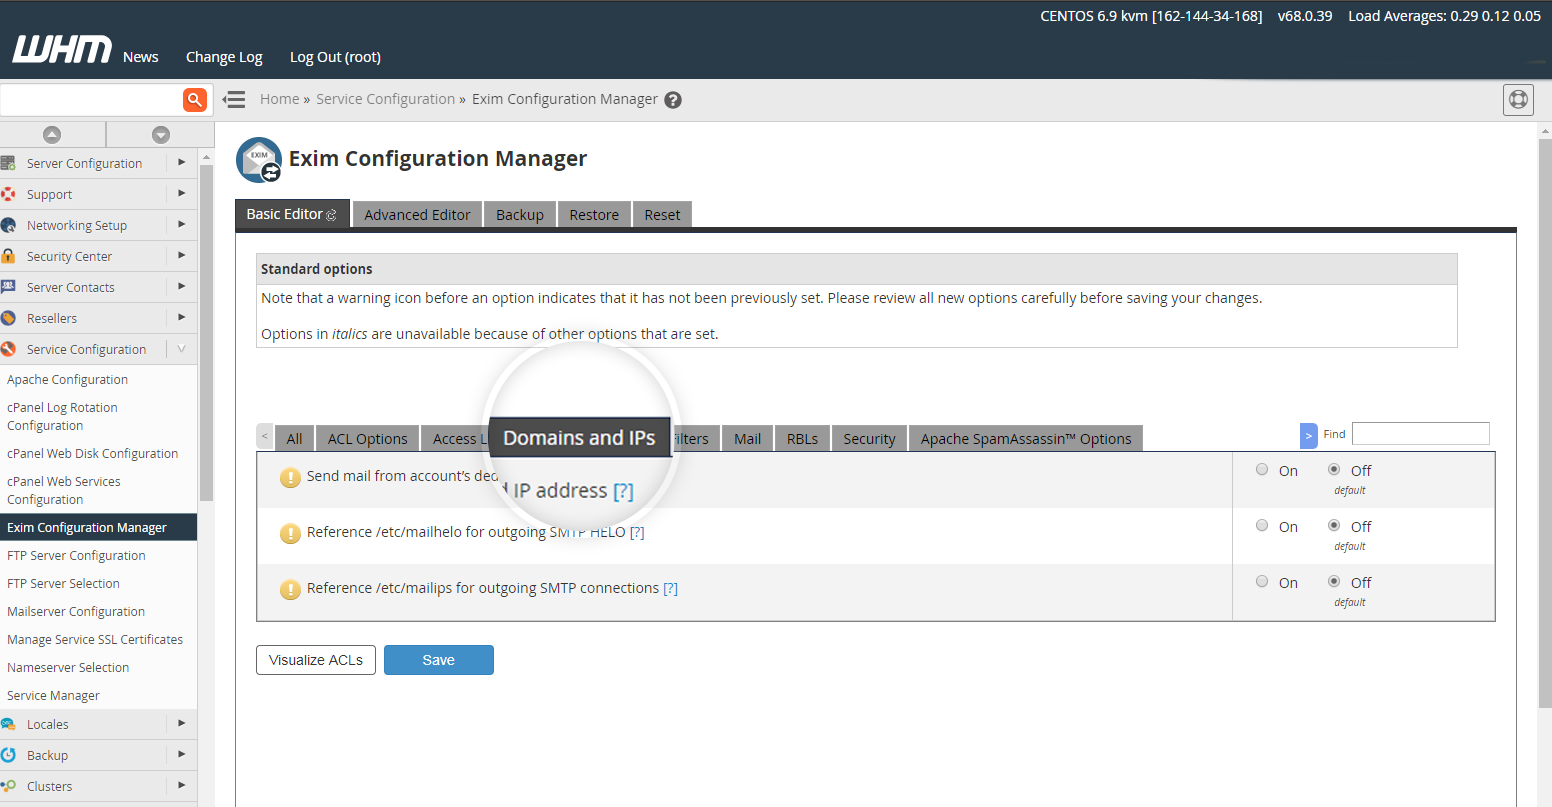
Domain and IPs: The Domains and IPs settings let you control which domain names and IP addresses the server will use to send mail. Normally, we don’t recommend any changes in this section.
-
Filters: Use the options under Filters to adjust attachment filtering and SpamAssassin filters.
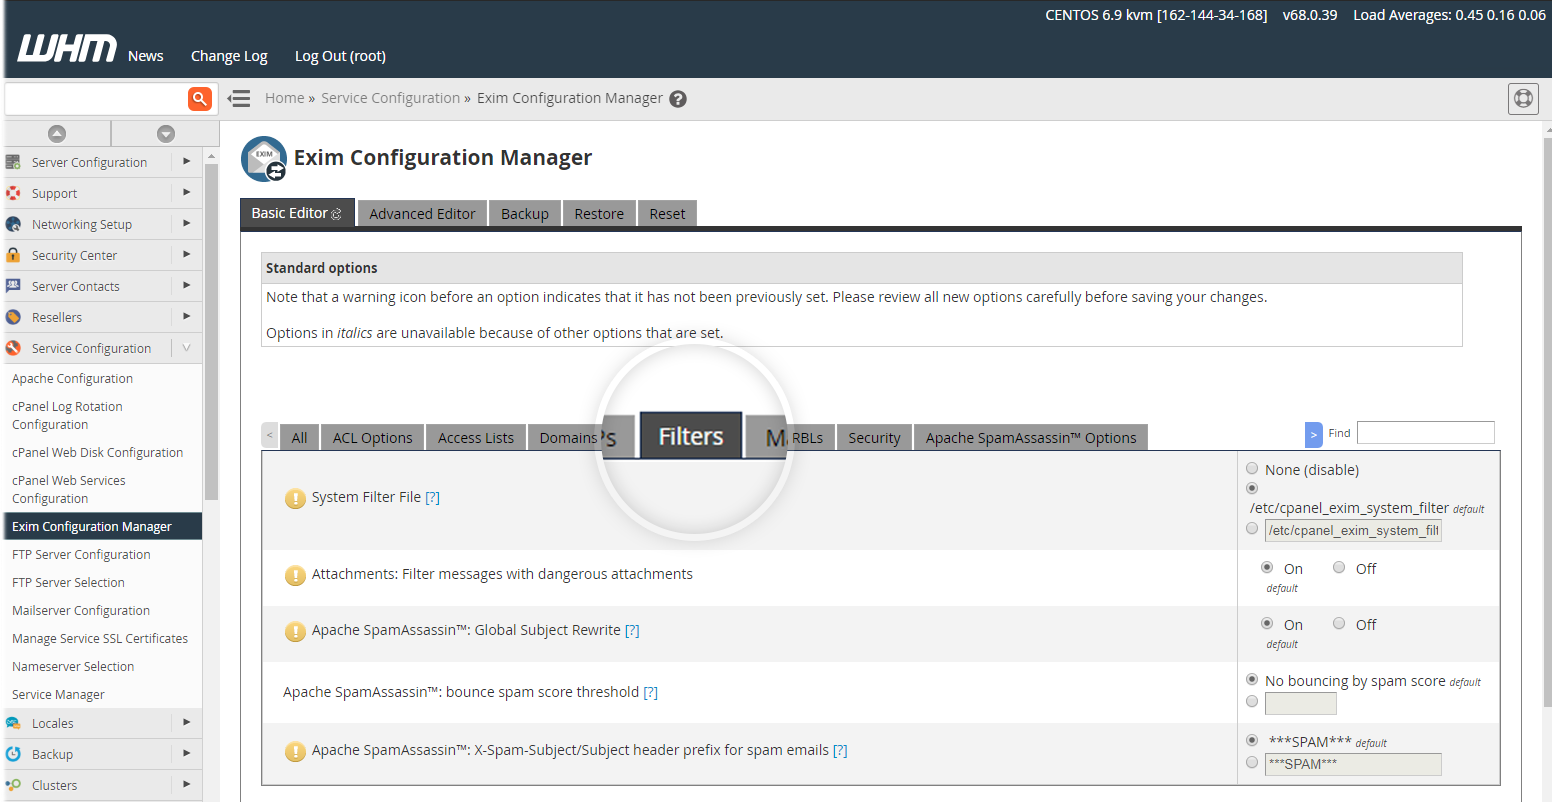 Options to be enabled are:
-
Attachments: Filter messages with dangerous attachments
-
SpamAssassin: Bounce mail when the spam score is greater than 20
-
SpamAssassin™: Global Subject Rewrite
If you see too much spam getting through your filters, you can lock them down further by adjusting your internal SpamAssassin score. It is important to note that making any of these changes will affect all email accounts on the entire server.
-
-
Mail: Mail section contains more conditions that can be checked before an e-mail message is sent.
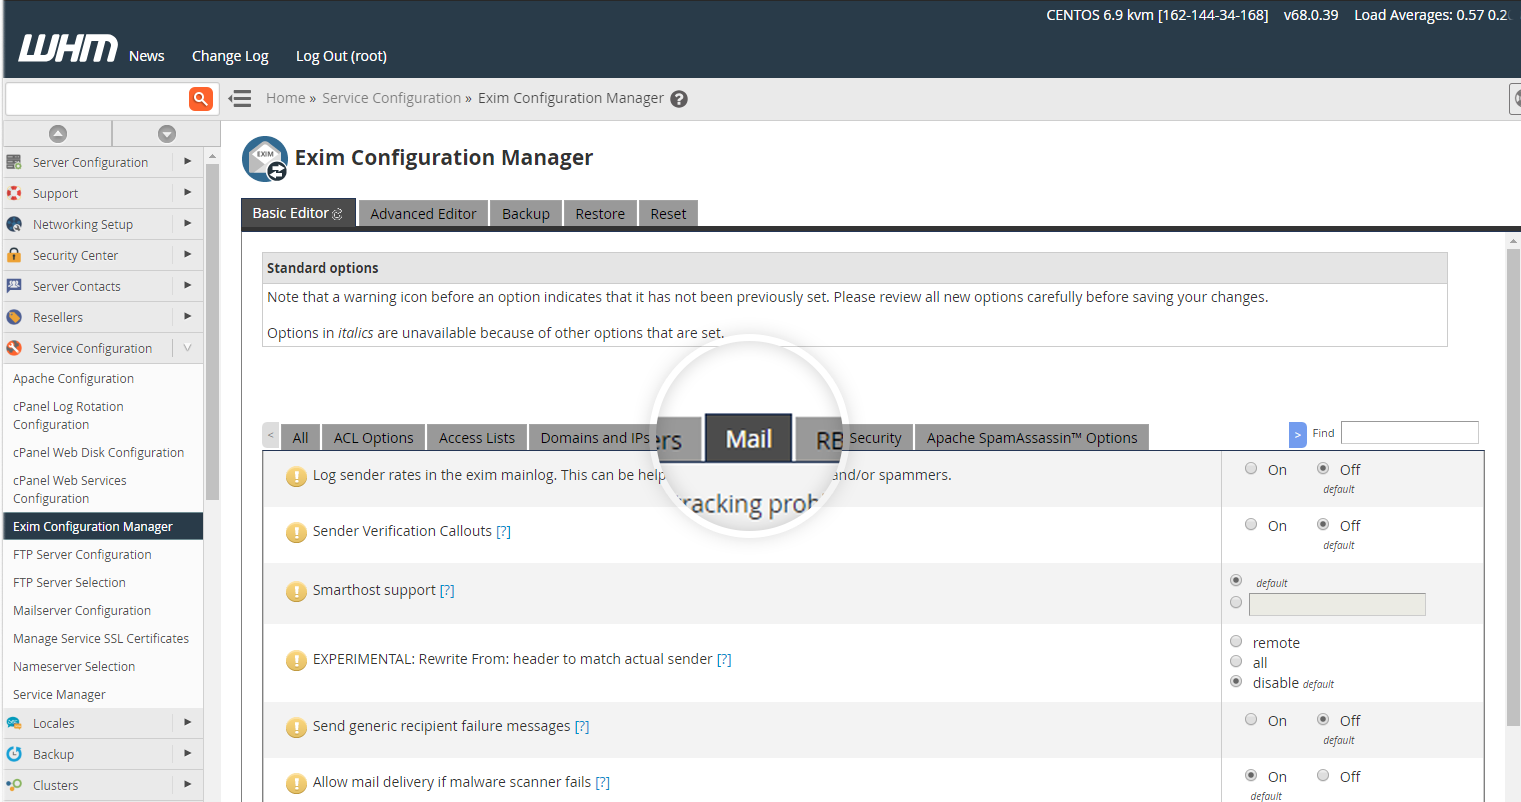 Options to be enabled are:
-
Log sender rates in the Exim mainlog.
-
Bounce email for users over quota
-
Sender Verification
-
-
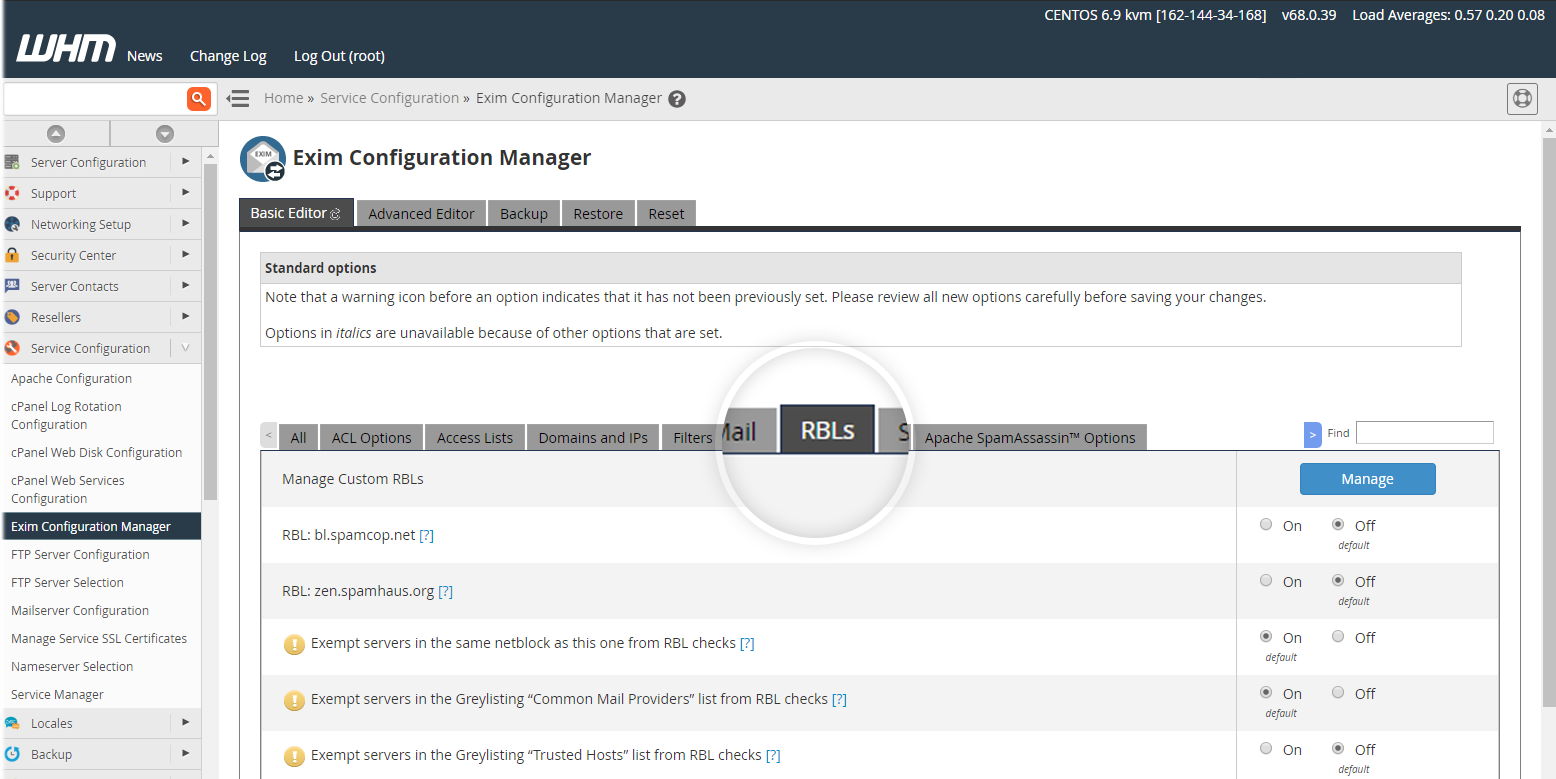
RBLs [Real-Time Blocklists]: RBLs are Real-Time Blacklists containing IP addresses that have been known to send large quantities of spam. Enable one or both of these RBLs if you would prefer to block such emails at Exim. Spamcop and Spamhaus are the two RBLs listed by default in Exim configuration.
-
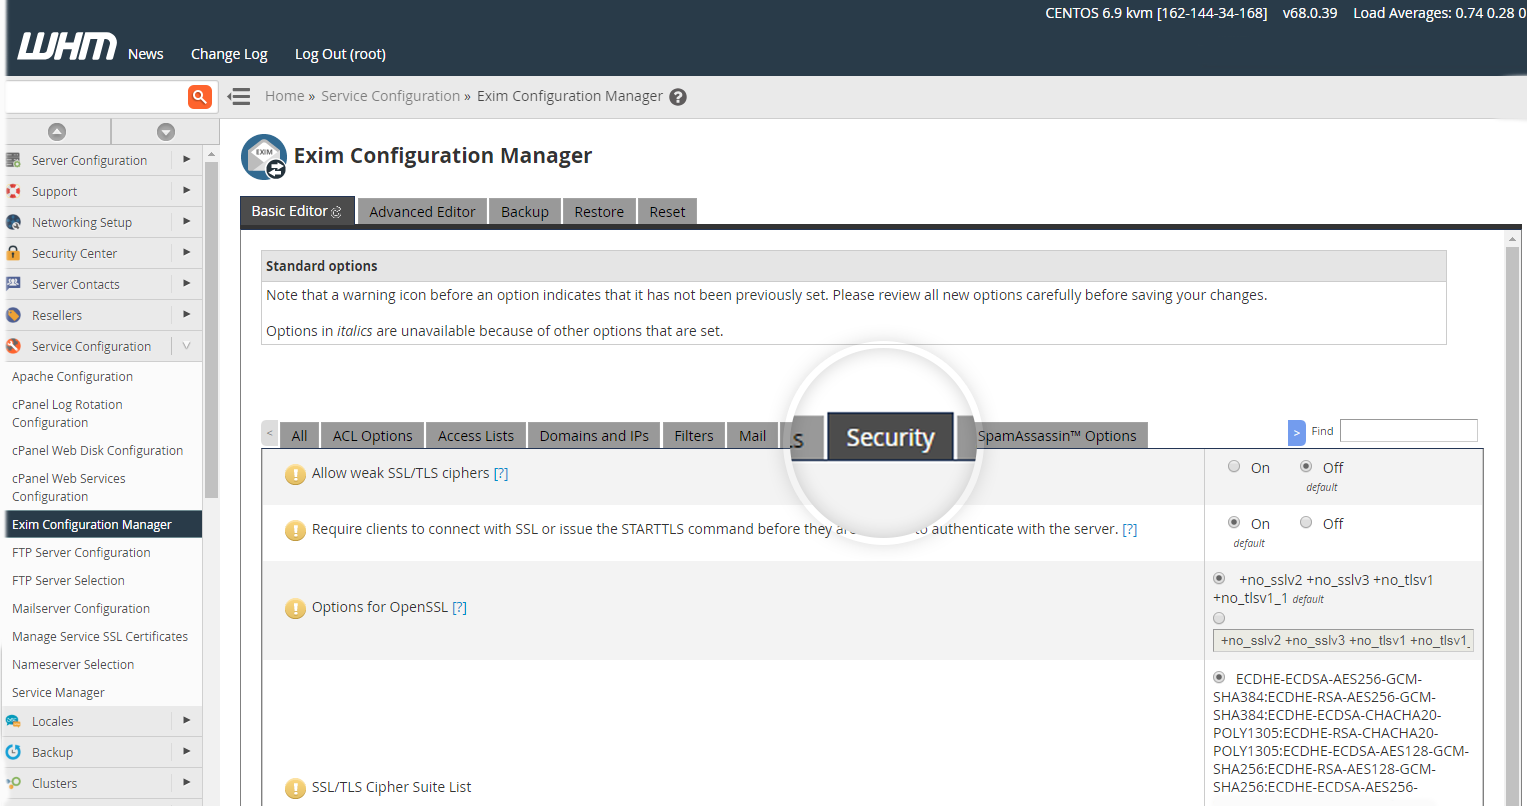
Security: You should leave the Allow weak SSL/TLS ciphers option disabled; turning it on allows weak encryption to be used when connecting via SSL or TLS.
-
Apache SpamAssassin options:
 Options to be enabled are:
-
Forced Global ON (Turn on SpamAssassin for all accounts, i.e., with no option to disable)
-
Scan outgoing messages for spam and reject based on SpamAssassin internal spam_score setting.
-
Sender Verification.
-
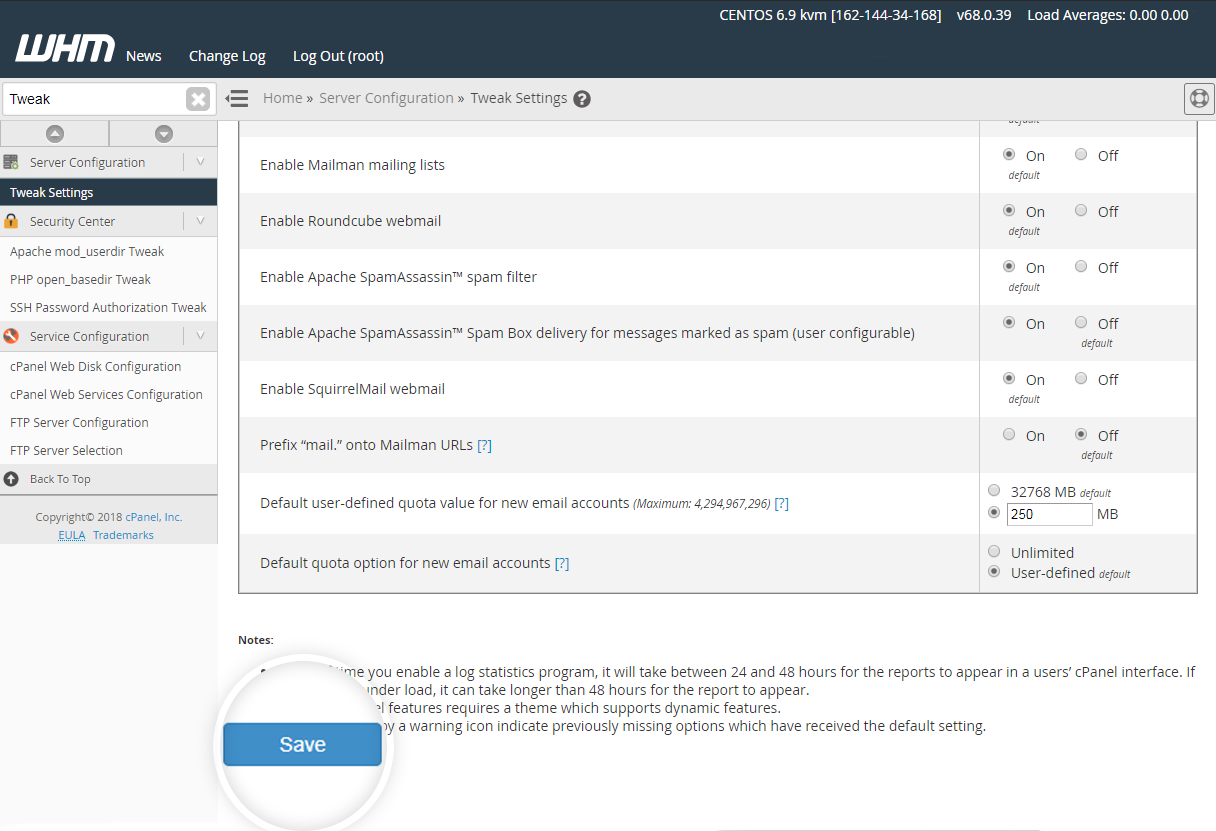
Once the changes are made in Exim configuration scroll to the bottom of the page and click Save to submit them.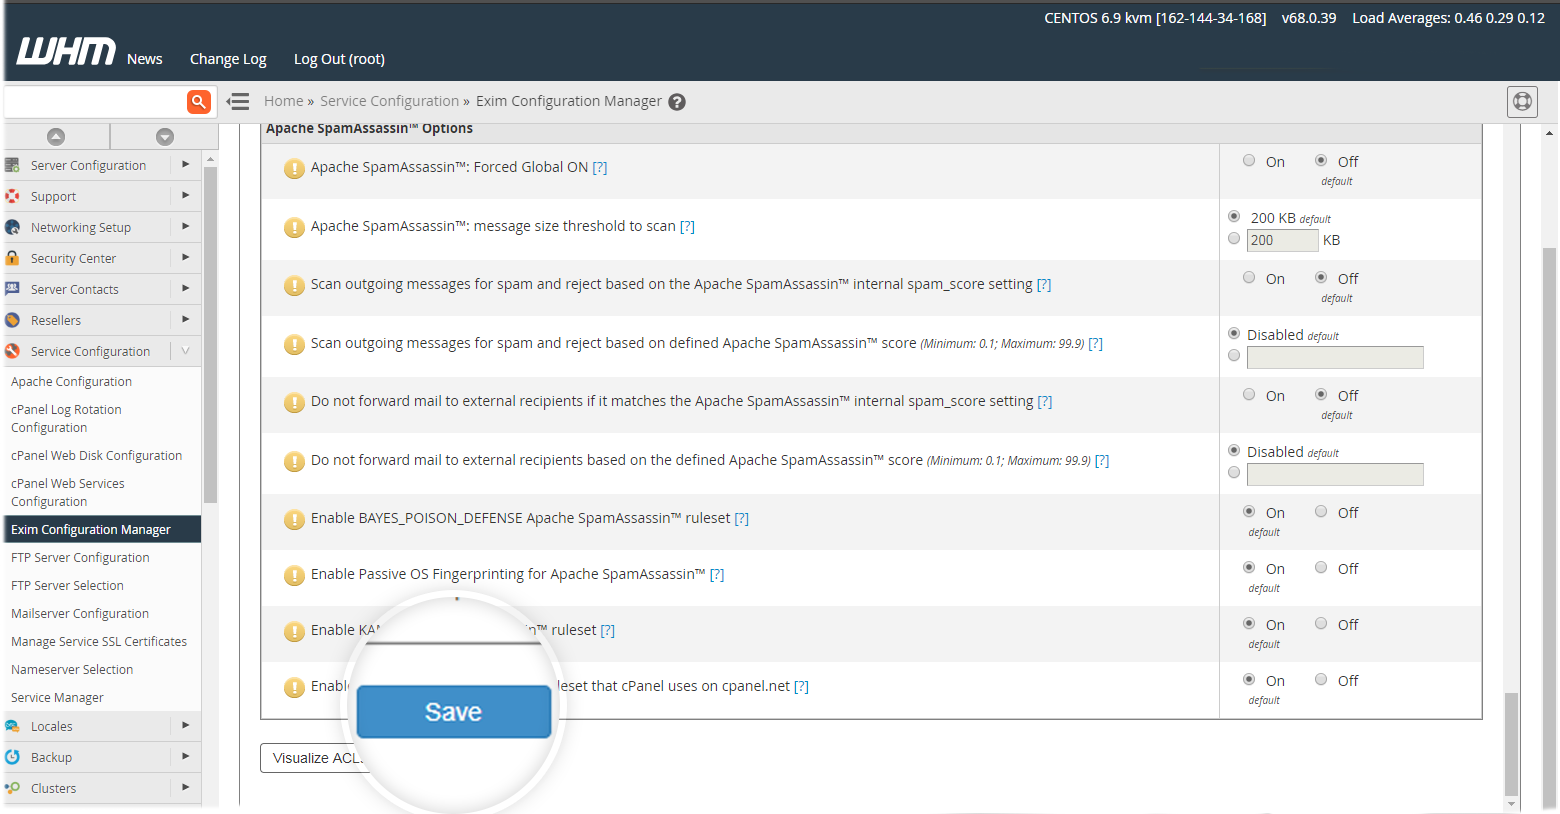
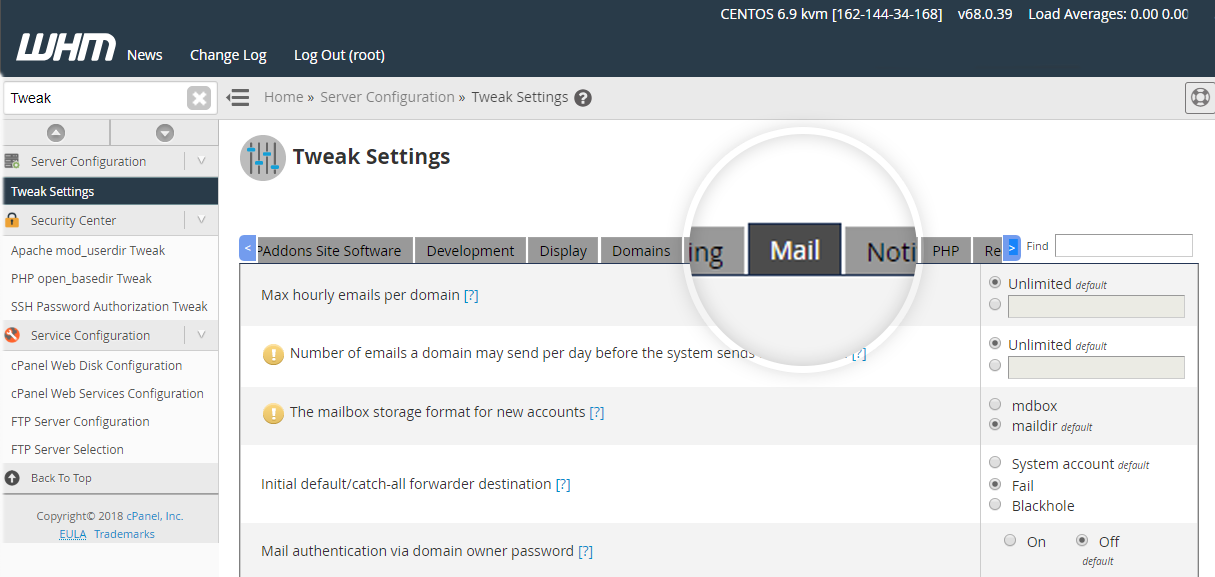
To control Outgoing Mail from the Server
The process below explains how to configure outgoing emails on the server
-
Login to WebHost Manager.
-
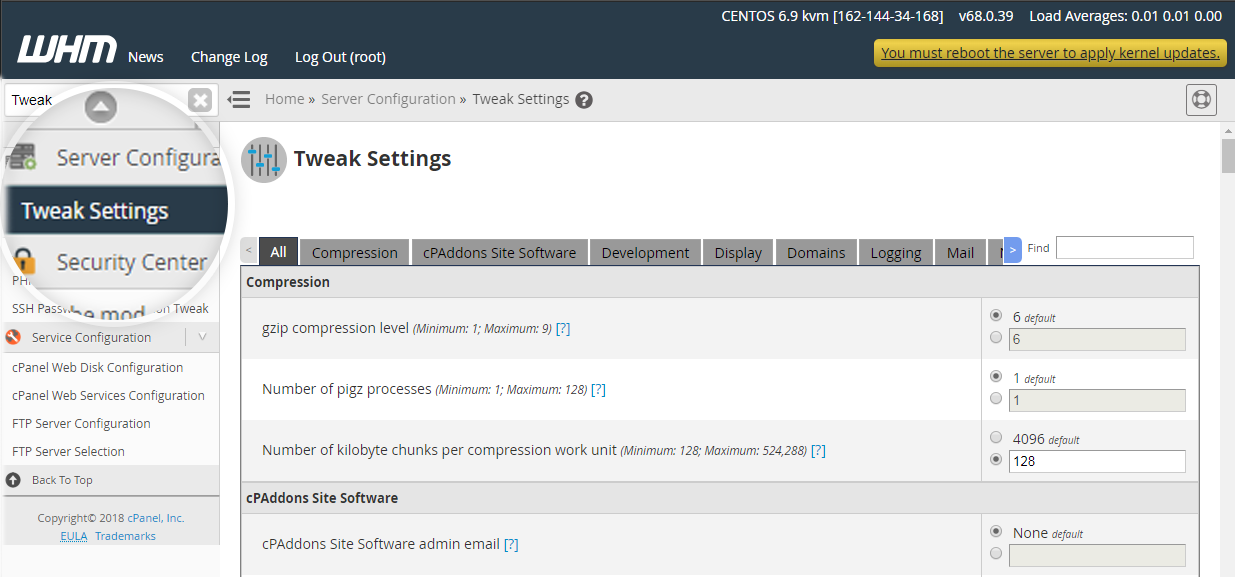
Search for Tweak Settings in the search bar.
-
Click Tweak Settings.
-
Click the Mail tab.
-
Here, update the parameters mentioned below:
-
Number of messages sent per hour: If you wish to limit the number of messages sent per domain per hour, set the desired value in the Max hourly emails per domain field The default value is 60.
-
Prevent "nobody" from sending mail: Using this option, you can prevent the user nobody from sending out mail to remote addresses.
NotePHP and CGI scripts generally run as nobody, if you are using mod_php or have Suexec disabled.
-
Number of failed or deferred messages a domain may send before protections can be triggered: When a domain sends this number of failed or deferred messages in an hour, and the Maximum percentage of failed or deferred messages a domain may send per hour is also reached, the domain will temporarily be blocked from sending mail.
-
Maximum percentage of failed or deferred messages a domain may send per hour: The maximum percentage of a domain’s outgoing mail that can consist of failed or deferred messages. Once the domain exceeds this percentage, it is temporarily blocked from sending mail.
-
Track email origin via X-Source email headers: Track the origin of messages sent through the mail server by adding the X-Source headers (Exim 4.34 or higher required). It will be useful when a spam mail gets out and with the help of message headers, you can easily find its source.
-
Email delivery retry time: Time interval between mail server queue runs, the default value is 60 minutes. The default is a retry every hour – but you may want to extend this so the server is less strained with larger queues.
-
The percentage of email messages (above the account’s hourly maximum) to queue and retry for delivery: When an account exceeds the maximum number of emails it is allowed to send per hour, by default, any additional messages are queued for delivery and sent in the next hour. This setting allows you to limit the number of messages that will be queued by the system. For example, if you set this value to 125%, once the account reaches its hourly limit, Exim will queue any additional messages, up to 125% of the maximum hourly emails per domain value. Once the account reaches 125% of the maximum hourly emails per domain value, any additional outgoing messages are discarded.
-
-
Once you have updated the settings scroll to the bottom of the page and click Save.