Add an MX Record.
-
In the MANAGE DNS RECORDS window under All records, click + Add MX Record.
-
In the Add MX Record section fill in the fields
- Domain / Subdomain Name:
The Domain Name for which you setting an MX Record needs to be entered as the Zone. If you are configuring the email server for yourdomainname.com, such that you can [email protected], then you need to leave this field blank.
- Subdomain/ Fully Qualified Domain
This is the email server Domain Name. If the email servers hosting your Domain Name are managed by you, then you may enter the name in the format: mail.yourdomainname.com.
If you are using another Internet Service Provider's email server, then you need to enter a Fully Qualified Domain Name (FQDN) like mail.isp.com. - MX Priority:
An MX Record has a priority number indicating the order in which the email server should be used (only relevant when multiple MX Records are defined for the same Domain Name). Email servers will attempt to deliver email to the server with the lowest priority number first, and if unsuccessful, continue with the next lowest and so on.
- TTL:
This is the Time To Live for this Record. Any server which once queries this record will query it again after this time interval. You can select the time interval from the drop-down. The ideal TTL is 1 day.
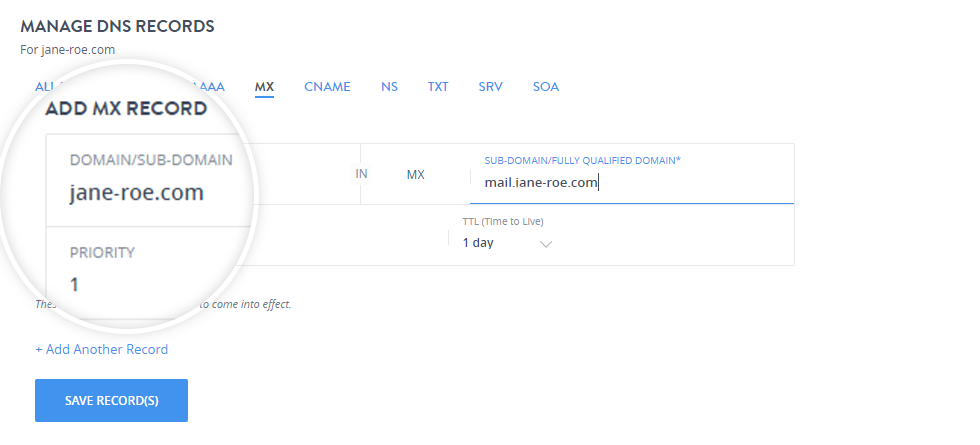
- Domain / Subdomain Name:
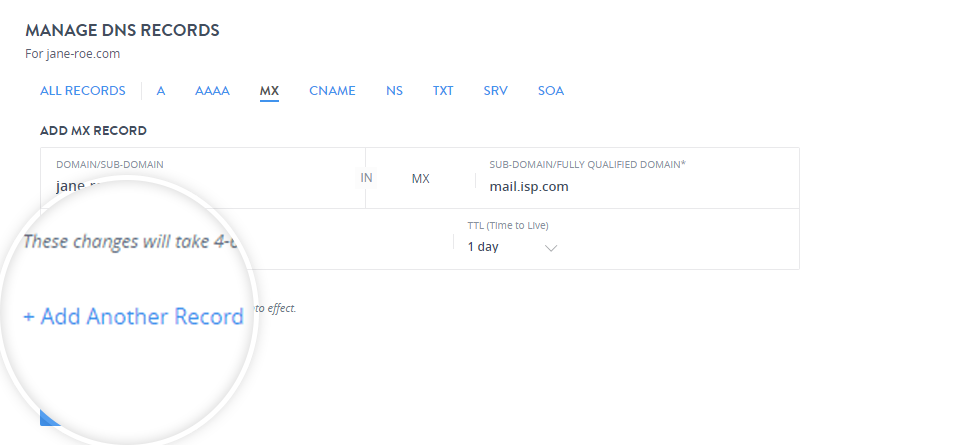
- You can add multiple MX Records at a single time by clicking + Add Another Record.
- Click Save Record(s).
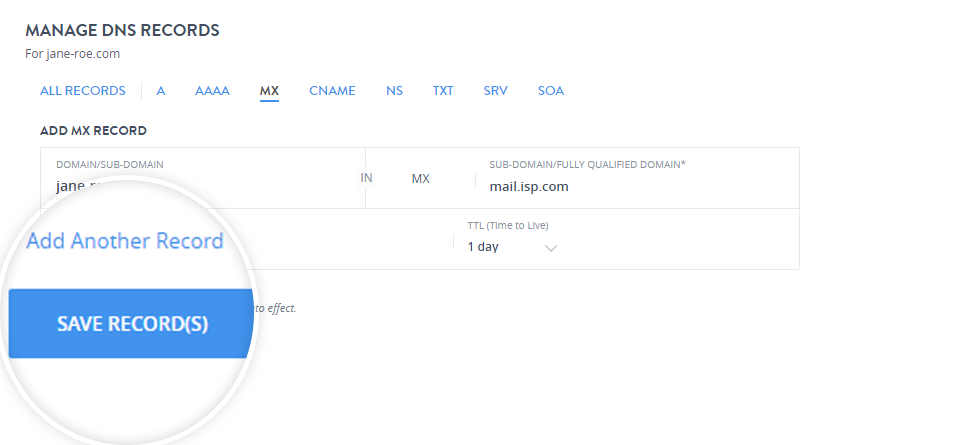
It will take 4 to 6 hours for the changes to come into effect after adding an MX Record.
Edit an MX Record.
-
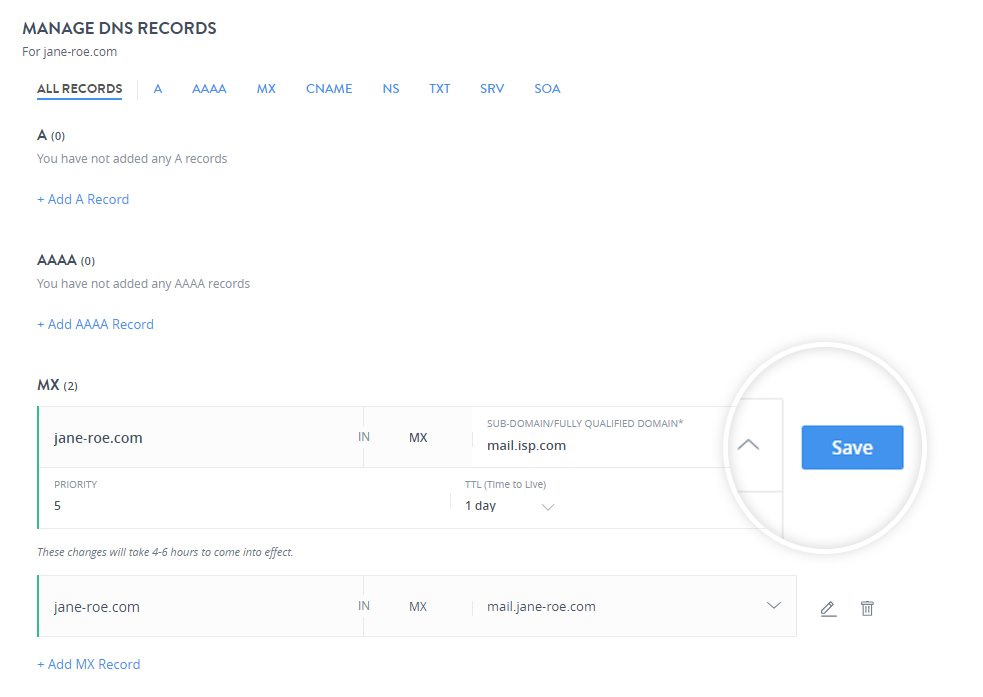
To modify a particular record click the edit icon.

-
You can edit the Sub Domain/Fully Qualified Domain, MX Priority, and the TTL fields and click Save to update the record.
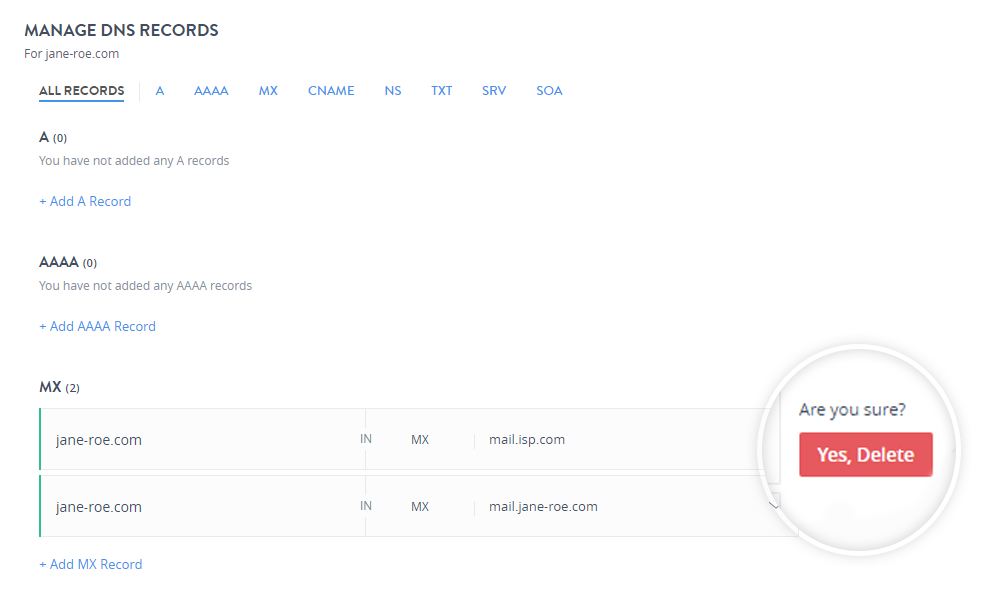
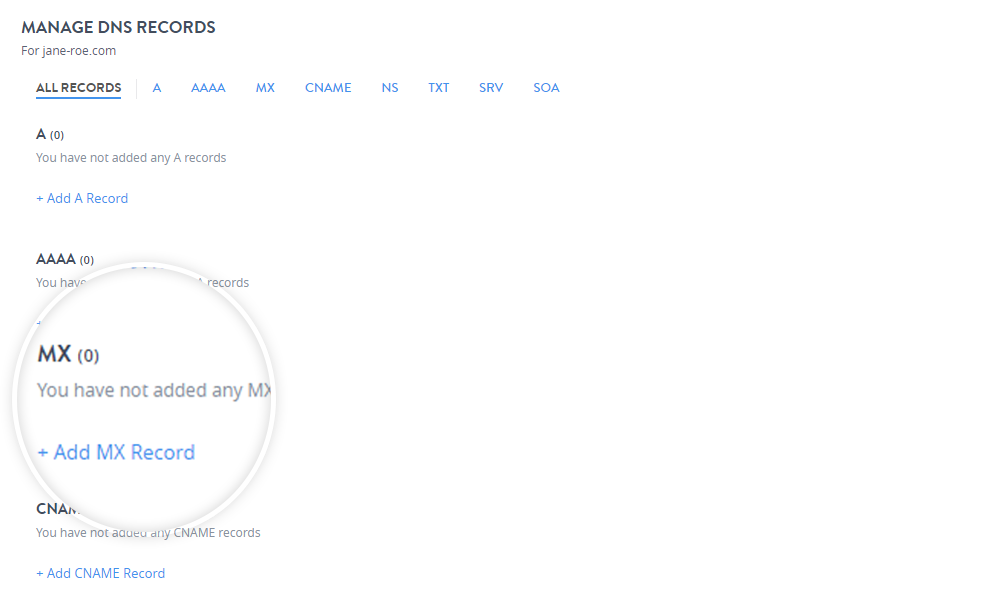
Delete an MX Record.
-
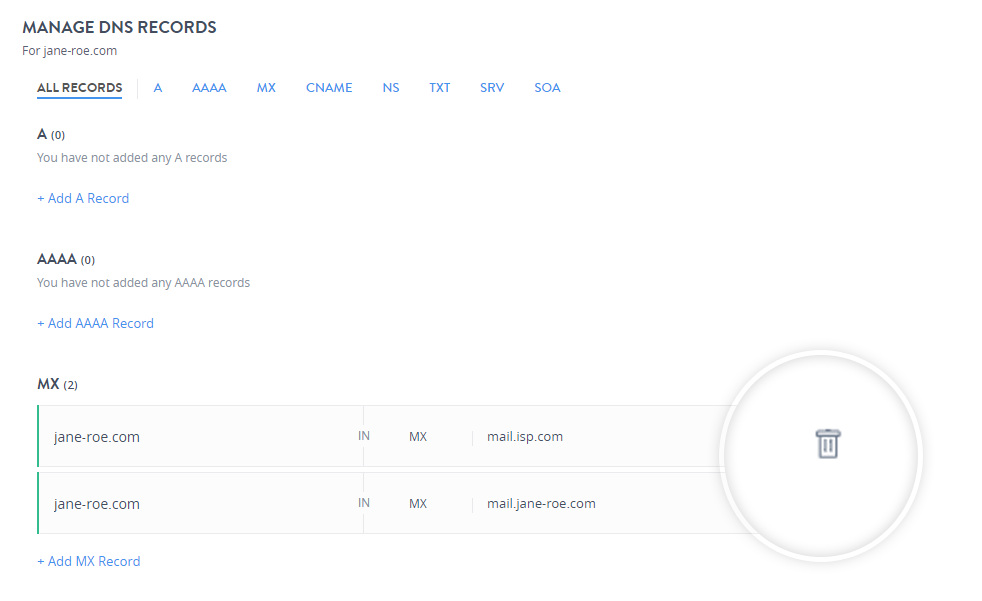
To delete a particular record, click the delete icon.
-
Confirm the deletion by clicking Yes, Delete to delete the record.